So you may have heard me allude to the fact that I bake bread every week as part of my day off routine. This has become a regular habit of mine for nearly three years now, and though I love me a good slice of Dave’s Killer Bread every now and then when I’m out to brunch or over at friends’ houses, I actually haven’t bought a commercial loaf of bread since February of 2008.
This is partly motivated by thrift (I think I calculated once that even factoring in the ingredients I use to spruce up my breads, like sunflower seeds, sundried tomatoes, cloves of garlic, etc.), the cost of production of a homemade loaf comes out somewhere in the range of 50 cents, and always lasts me the whole week — sometimes even longer in which case it is destined for croutons and bread crumbs. But that’s another story, to be told another time.
So here we go. I usually get this started on my Monday mornings, which are usually reserved for laundry, dishes, cleaning up the house from the past week, and writing my Yarnia newsletters and blog posts for the coming week. Step one is easy: I mix 3 teaspoons of yeast (I know, this is probably the only time you’ll ever see me using measurements!) with 1 teaspoon of sugar, and 1.5 cups of warm-ish water, and let that all hang out for about five minutes — just enough time to start a load of laundry and put some clothes on so I don’t find myself still in my pajamas at 2:00 p.m.; if it doesn’t happen early, it doesn’t happen at all.
This activates the yeast, so I’ve heard. I’ll be honest, I don’t actually know a lot about the science of bread. I’ve just tried this approximately 156 times and have figured out what works.
After five minutes is up, add 1.5 cups of white flour to the bowl, and mix it all together. The consistency will be thick enough to give some resistance to your stirring, but definitely would not be called dough yet.
This gets the yeast really working, and at this point you just leave it sitting there for 30 minutes. By the time you come back, you’ll see that the mixture is already bubbling, and has even started to rise.
Half an hour — not quite long enough to really settle into a big project, but perfect for drinking some coffee, responding to emails, straightening up, and contemplating what kind of bread this is really going to be.
Because the next step is where you really decide what kind of personality this bread is going to have. Once your half hour is up, you’ll add to the bowl 2 teaspoons of salt, 2 tablespoons of sugar, and…whatever else you want. Here are some of my favorite combos to throw in at this point:
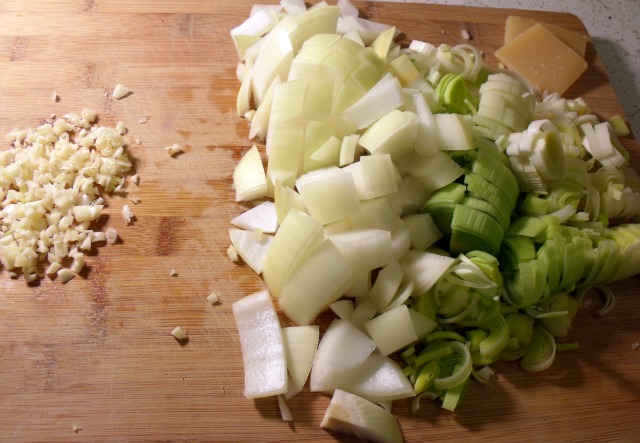
- roasted cloves of garlic and chopped red onion
- 1/2 cup raw oats and 2 tablespoons of honey
- fresh basil and sundried tomatoes
- fresh jalapenos and 1/2 cup shredded sharp cheddar
- 1 tablespoon of nigella
- 1 cup rye flour and 1 tablespoon whole caraway seeds
- chopped black olives and fresh oregano
- 1/2 cup chopped walnuts, 1 teaspoon cinnamon, and a handful of raisins
- 1/2 cup cranberries and 1/2 cup orange juice (this one you have to think ahead for — substitute the orange juice for 1/2 cup of the water at the very beginning. Try this with buttermilk too, instead of the O.J.!)
…you get what I mean. What kind of bread do you want? Here’s where you make it happen. Toss whatever you’re thinking about into the bowl, and now it’s time to add the flour and really make this into a dough.
I like to use some whole wheat flour, but not too much, or else the bread will be too dense and heavy. I usually go with about a 1 to 1.5 cups of whole wheat flour (or rye, or spelt, or raw oats, or kamut, or whatever else…I even used cooked potatoes once to make potato cracked pepper bread!), and the rest being white.
Here’s where it’s going to get vague. So with all this in the bowl, and your supplemental flour on top, start mixing it all together with your hands. They’re going to be dirty and sticky from hereon out, so make sure you’ve turned off whatever’s boiling on the stove, put your hair up, taken the lid off the flour jar, and turned your favorite podcast on before digging in.
This isn’t the kneading part yet, just mixing it all together with your hands, and adding little handfuls of flour as you go, incorporating it in until this mess starts to form something of a ball, and gets less and less sticky.
At some point, you’ll be able to actually take this ball out of the bowl because it will have an actual shape to it that you can grab. At this point you’re getting closer, but still need to add more flour. I toss the flour handful-by-handful onto my clean counter space and just start kneading the ball into the flour pile until it’s all eaten up, and then reassess the stickiness.
Once you’re at the point where the dough isn’t sticking to your hands anymore, and is even pulling the old sticky dough off your fingers, you’re ready to start the real kneading.
I hear 10 minutes is a good knead time, but I just like to count. Once this dough really feels like dough, I give it about 50-60 more “kneads” and then call it a day.
Put it back in the bowl you were mixing everything in, cover it with a towel, crank the heat if you live in a basement suite like I do, and set your timer for 2 hours. This is where bread gets easy. You can do whatever you want with the next two hours — read a book, get some work done, go for a run, even leave the house and do errands! If you get carried away and overshoot the 2 hours, no biggie. You’re just going to punch the bread down and let it rise again anyway.

After 2 hours your dough will look something like this. You’ll be so proud of your yeast! It’s actually doing its job. And now you’re going to undo all its hard work. Because you’re going to take that big beautiful puffy bowl of dough, dump it back on the counter, and smoosh all the air out of it. The longer, slower, and more times you let your bread rise, the more flavor it will develop, so this second rising is key. It’s discouraging the first time, but just have faith that it will rise again. Yeast are pretty determined like that.
I’m not sure why or how I originally interpreted the words “punching down” to mean what I’m about to tell you, but for some reason I did, and it works, so I go with it. I take that big puffy ball and start from one end, rolling it up like a sleeping bag at your fifth grade slumber party. It will look kind of like a lame croissant.
Then, turn it 90 degrees and start at the narrow end you’ve just created, turning it back into more of a ball shape. Are there any folds or creases showing? Use your hands to pull the dough over these creases and towards the bottom side of the ball, so that it looks smooth and all the creases are sealed up. (Feel how easy and elastic it is? Your dough is changing consistency from the rising!) Roll it around on the counter a few times to make sure it’s a sealed-up ball, and then it’s time for the second rising.
This is where you need to decide whether you want to make a loaf or a round. If you’re making a loaf, put the dough in a loaf pan (coated with olive oil, if you want) for this second rising; if you’re making a round, just rest it on whatever baking sheet you’ll be putting in the oven.

I like to score my bread before the second rising, so that it rises in whatever direction I tell it to: making a plus sign at the top of a round will make it expand in all directions; a slit down the middle when in a loaf pan will help it to fill out width-wise, and a bunch of horizontal slashes just makes it look kind of cool and rustic.
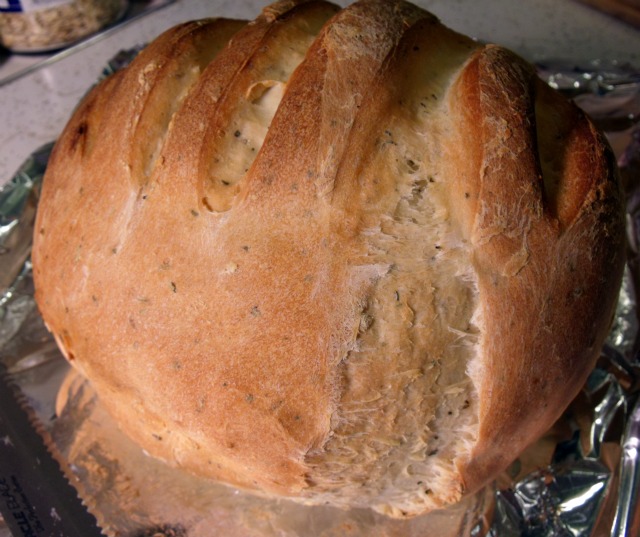
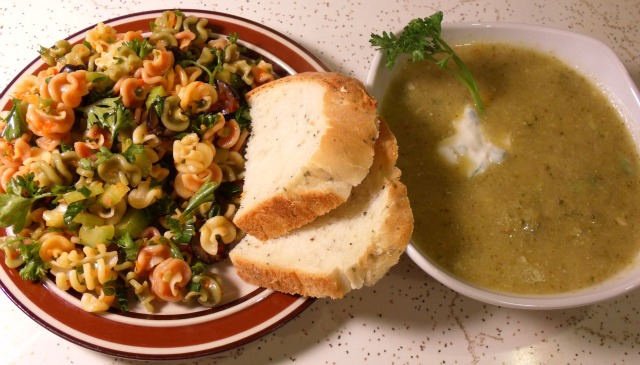
Let it rise again for another hour or so, or however long it takes for it to look like the size of a loaf of bread, and then bake it in the oven at 350 degrees for 35 minutes. Take it out and see if you can resist for 15 minutes while it cools; this is when I then eat the heel with a good amount of homemade butter and enjoy the rest of my day in a house filled with the aroma of fresh baked bread!