Egg McMuffin

Batched Freezer Egg McMuffins

Posted on
Egg McMuffin

These are not normal Egg McMuffins. At least, they’re not an Egg McMuffin that I would eat on a regular weekday morning. These would be what I’d consider to be a gut bomb if I weren’t on my feet running load-in for a show, which is why I keep these in our deep freezer and bring them out to thaw when I’m packing my cooler for a show weekend. I get INSANELY hungry during load-in, so hungry that I can eat an entire La Osita breakfast burrito without a second thought, and so on these occasions, these pre-made breakfast bombs are exactly what I want in my freezer. Let’s begin.

English muffins

I start with 6 of my favorite English muffins (sourdough), halved and lightly toasted. I buy these square foil wraps at Cash & Carry and they’re perfect for food prep projects like this one.

Then, I sautee up an entire pound of spinach, with some garlic salt. As you’ll know if you’ve ever sauteed some spinach, this is an astounding amount of greens, which will shrink down to a small fistful in less than five minutes. That works great here, because we don’t have much room to work with, and a sixth of a bag of spinach will pack a nutritious punch in the mere inches that it will occupy on this sandwich.

That’s more like it. Now I take my spatula and divide this up into six equal sections.

Next, the eggs. I bought these little metal egg rings on Amazon for less than $10 and it’s exactly what I need to get this perfect round shape, without having to use the microwave. (The next best thing would be to take a glass dish that’s the same circumference as my muffins, and give them a zap, but that gets messy and the eggs get rubbery, so these egg rings are a game changer.) My master pan is only so big, so I cook these in two rounds, until I have all 6 eggs perfectly cooked. Cover with a lid and lower the heat to speed the egg-setting time.

Now, let’s pack some flavor in here. The top shelf of our fridge tends to always have a rotating assortment of yummy spreads and dips–these are two of my favorites. The Toom is one that a friend had brought over for a wine night, purchased at Grocery Outlet, but once I saw how long it kept in the fridge and how easy it was to use in everything from sandwiches to salad dressings, I was overjoyed to find a bigger tub of it at Costco the next month. It hasn’t been around in a while but I imagine this is seasonal, and that it will come back! The other is a zhoug sauce that Trader Joe’s does execute particularly well. I slathered a little of each on each side of my English muffins.

Final steps! I started layering the ingredients, starting with a slice of American cheese*, followed by the egg, the split sixth of the greens, and a Johnsonville turkey sausage patty. You don’t need to cook these patties at all, because once it comes time to eat these babies they’ll be cooking in the oven for a while anyway. Top with the other muffin half, and wrap these up in the foil they were assembled on, and hustle them down to the basement freezer.

On the morning of the show, or whenever you need a hearty, healthy, protein-packed breakfast that will let you happily cruise through the first 6 hours on your feet during a busy day, just take it out of the freezer and bake it at 350 for about 30 minutes (if heating directly from frozen; decrease bake time if it’s already thawed). Remove the foil and either bake or air fry (I like the latter for better toasted muffins) until the edges are crispy and the cheese is melty.

* While I typically shy away from any processed foods, we do keep American cheese in the fridge because it is typically just so superior for any kind of grilled cheese or breakfast sandwich. However, because this sandwich has a frozen phase of its life, that extra gloopiness that American cheese brings to the table is not necessary in this sandwich. On my next batch, I’d swap this out for a slice of some yummy (real) sharp cheddar and trust that all that time in the oven will let it get just as melty as it needs.


Sole, Saffron Rice & Baby Bok Choy

Posted on

Along the same lines as yesterday’s marinated chicken, I bought some fresh sole and marinated it in coconut oil, lemon juice, garlic, salt, pepper, and fresh basil from the garden…sole

Then, pan-fried it and served it alongside white rice flavored with turmeric, saffron, and chicken broth, and some quick-sauteed bok choy.  Normally I’d season the bok choy with soy sauce, but no soy for me on the Feel Good Cleanse, so instead I used my trusty coconut aminos.

sole

(Pictured here with salmon instead of sole — made this same meal a second time with a different kind of fish!)


Chicken Thighs, Brown Rice, Mushroom Gravy & Broccolini

Posted on

When Jesse tells me a dinner I cook on my cleanse is as good as any regular dinner, I know I’m doing something right.  Here’s proof that you can cut these 10 inflammatory food groups out of your diet and still eat like a queen:

dinner

1) Brown rice: I always have a pot of this in the fridge or out on the stovetop even when I’m not cleansing, so this was a no-brainer.  I use brown rice as everything from salad filler to a substitute for the bread in a breakfast bird’s nest, so there’s at least 1-2 servings of this already cooked and on hand at all times.

2) Chicken: I shop at Costco once a month and splurge on 1 type of meat to keep in the freezer.  They usually come in packs of 3, so after the first few months we’ve always had a rotation of yummy, organic, easy proteins on hand.  This month we have big 3-lb. packs of boneless skinless chicken thighs, which I defrosted the day before and marinated in a tupperware overnight with olive oil, garlic, lemon juice, salt, pepper, some dried spices, and basil from the garden.  Heated our cast iron skillet on high to sear them, and then once the chicken had released some of its juices, turned it down and threw in half a bunch of…

3) Broccolini: I splurged this week and went to New Seasons, which seems to be the only place in town that carries broccolini.  With all the juices and seasonings from the chicken, I didn’t need to do a single thing to the broccolini.  Just set it in the skillet for the last 5 minutes of chicken cooking, put a lid on top so it would steam and cook everything fully, and stirred it around a bit halfway through so all the sides would get nice and caramelized.

4) Gravy: This was actually totally Jesse’s idea.  We had a handful of mushrooms in the fridge on the verge of going bad, and I asked what he thought we should do with them.  Gravy!  So I sliced them up, sauteed them in olive oil and salt, and then sprinkled them with a few spoonfuls of white bean flour.  Once it thickened and started to get gummy, I added a small amount of coconut milk, to give it creaminess, but I didn’t want it to taste too coconutty, so I thinned it out with water and let it re-thicken to the right consistency.  Even with some fresh basil it was still missing something, and I didn’t want to keep adding salt (which is a hard crutch to shake when my usual vices of soy sauce, hot sauce, or chili flakes are all off-limits) so instead I added a drizzle of balsamic vinegar, and it was perfect.  I’ve been eating this gravy on everything all week!

mushroom gravy


The Feel-Good Cleanse

Posted on

I like to call this my “annual cleanse,” but truth be told, this is the first time I’ve embarked on it in a couple of years.  The first time I tried it, it was upon recommendation from my naturopath, whom I’d been seeing for a number of low-grade-but-totally-impairing ailments like eczema, apocalyptic menstrual cramps, and most notably, exhaustion.  I was so, so, so tired, all the time.  For someone who was finally getting enough sleep (after years of workaholic 5-hour nights) and drinking as much coffee as I was, it just didn’t make sense.

Most likely, my naturopath offered, all of these things were connected, and had to do with something in my diet.  The “cleanse” she recommended to me wasn’t so much of a cleanse in the traditional sense (no 10-day juicing regimen or toddies of hot lemon water and cayenne!), but more of an elimination diet.  In the world of naturopathy, all of my ailments pointed to different forms of inflammation, and there are certain foods that trigger this — ten of them, in fact.  The theory behind elimination diets is that if you cut out all the possible culprits for a few weeks, give your gut bacteria a chance to settle down and stabilize, then you can start adding these foods back in, with each new introduction being a “challenge” to see how your body reacts.  Once you’ve abstained from these foods for long enough (about 4 weeks), re-introducing the perpetrator will cause a much stronger reaction than before, so it’s super simple to nail down which food(s) you might have a sensitivity to.

When she showed me the list of foods to completely abstain from, for a full 4 weeks, I said no, immediately.  We are talking about a full month without:

  • Gluten
  • Dairy
  • Eggs
  • Soy
  • Corn
  • Red Meat
  • Sugar
  • Nightshades
  • Alcohol
  • Caffeine

But for some reason, the psychological challenge tugged at a little part of my brain even more than the possibility of feeling better in my own body, and I woke up the next morning, decided it was Day 1, and promptly made a tear-away calendar.  I love tear-away calendars.

And after 4 weeks?  The astonishing thing was that even after rigidly abstaining from everything on this list, and reintroducing each element one-by-one, just like I was supposed to, I concluded…nothing.  All of my symptoms had gone away — rashes on my hands, crazy period cramps, uncomfortable digestion, and most amazingly, the lethargy.  Granted, the first 5 or so days without coffee, for someone who has woken up to coffee every day of her life since age 15, were absolute hell.  But after that it got easier, and I was astonished at how much more energy I had all day long, compared to a week earlier when I’d been drinking coffee and eating all the things on this list.

I was confused by the outcome of the cleanse, but this was my naturopath’s explanation: Lucky for me, I didn’t seem to have a glaring allergy or sensitivity to any of the foods on this list.  After the cleanse was over, I went right back to eating all the cheesy, bready, tomato-ey goodness I always had, but they were no longer triggering all this body malaise.  Sometimes, your body just needs a reset.  It’s possible that I do have a very low-level sensitivity to one or more of these foods, and it had just built up to a point that it was dragging my body down.  But 4 weeks is a long, long time as far as diet goes, and it just may have been long enough to flush out all the years of residue or whatever was going on in there, and with a clean start, my body was able to handle it all again…for awhile, at least!

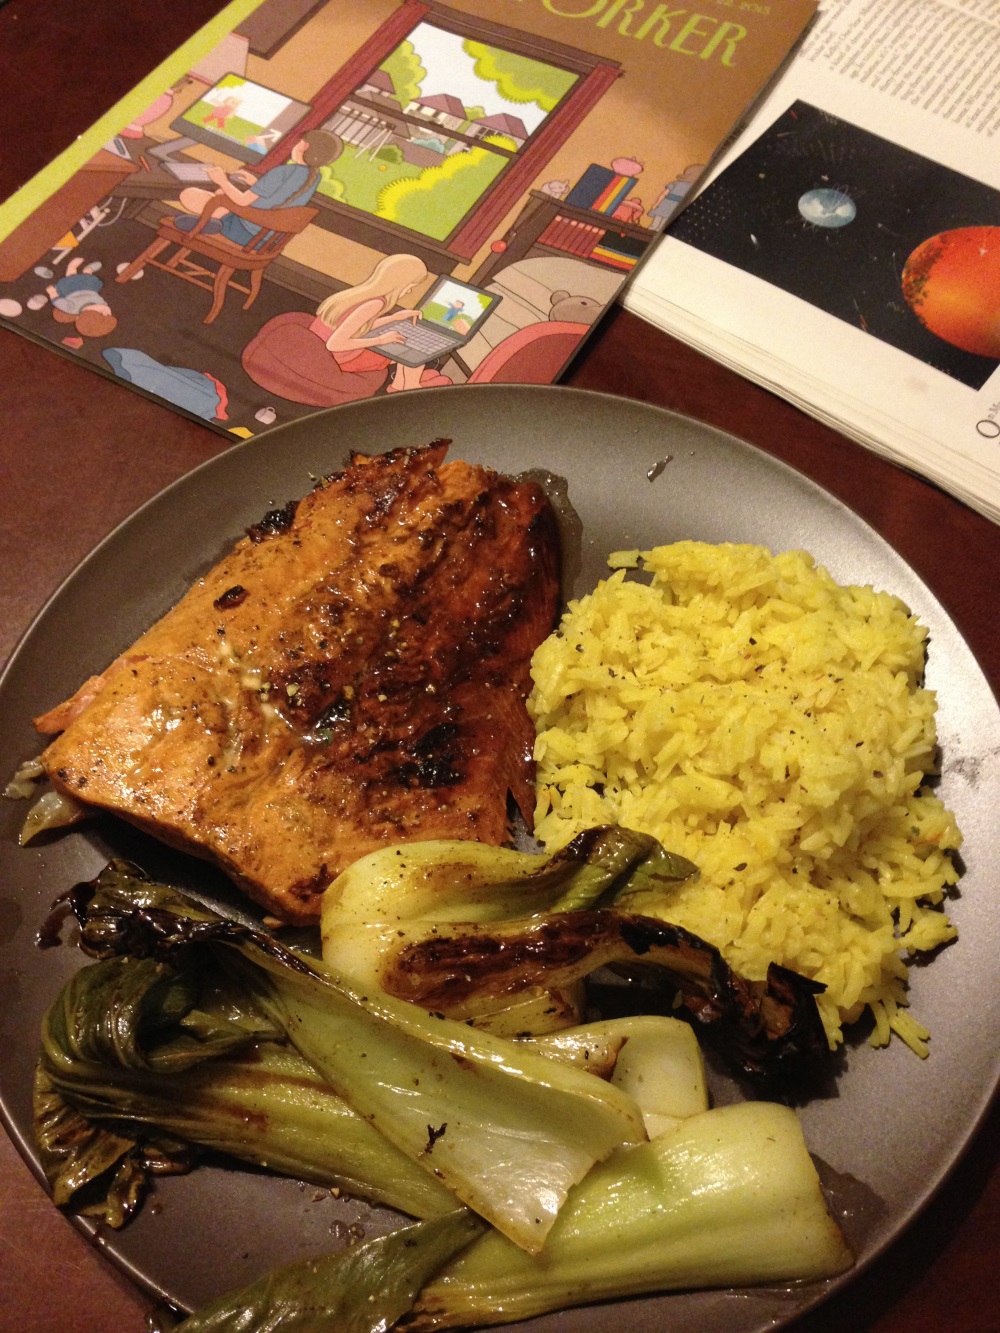
Which is why I like to call this a “cleanse,” not a “diet” or a “challenge” or a “fast.”  I’m not doing it to lose weight (though, that is often an unintended consequence, as it is anytime you are forced to make deliberate decisions about every bite you’re putting in your mouth), I’m not doing it to reach enlightenment, or to flush my body of everything but fruit juice; I’m doing it to give my body a break, to hit that reset button once a year and give it some time to recover.  And I’m certainly not fasting.  I eat 3 full meals a day on this cleanse, and snacks aplenty, and it’s damn delicious food!

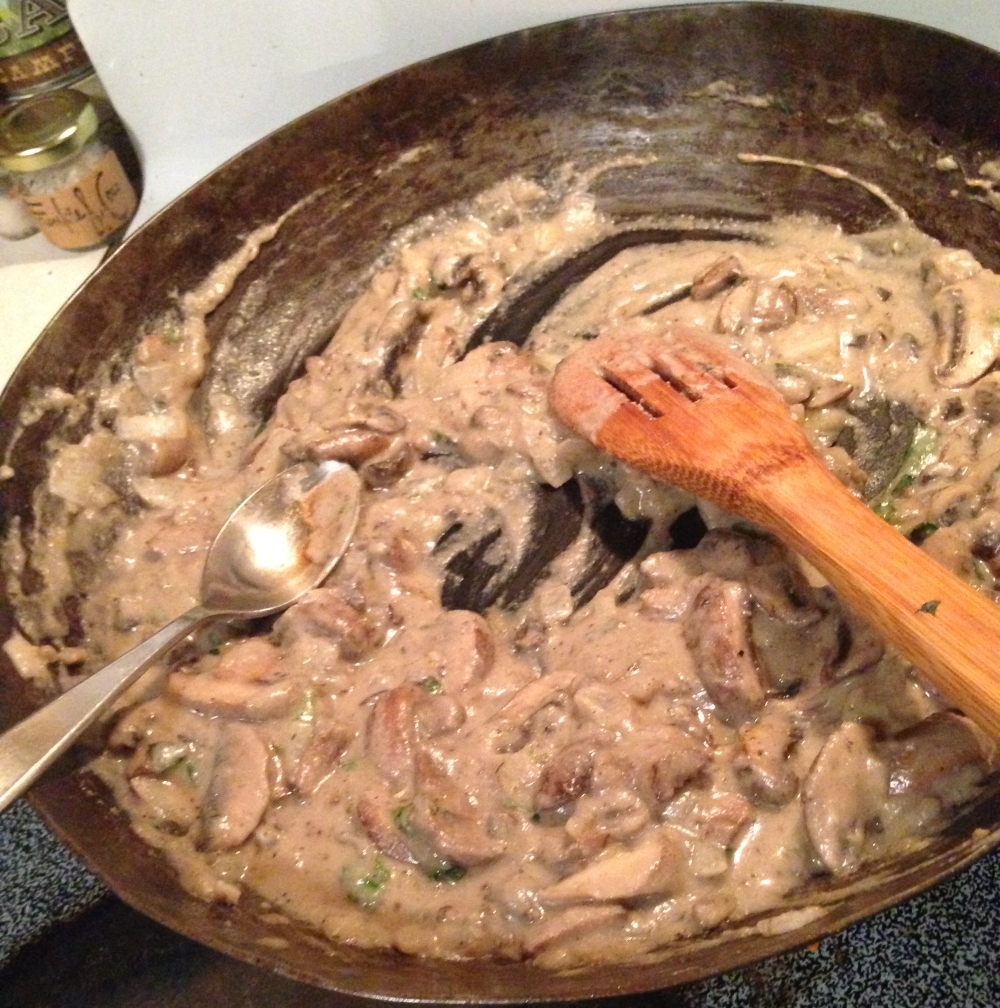
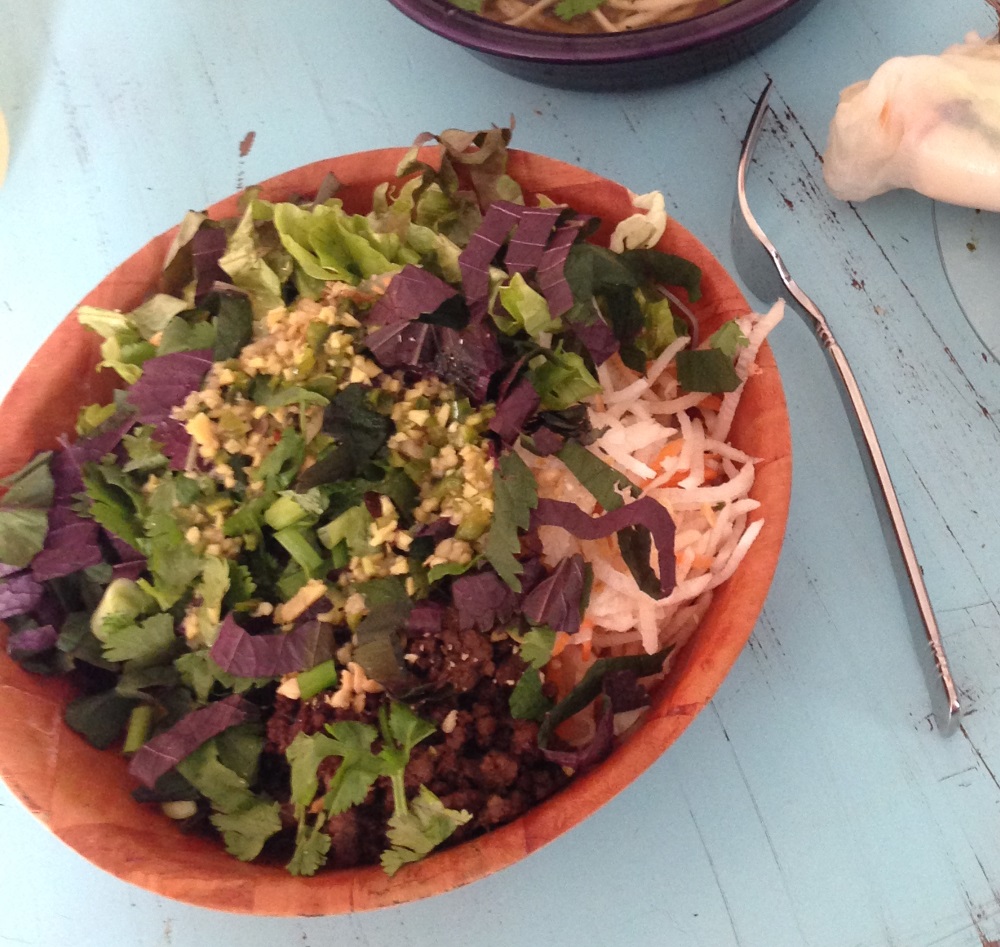
Yes, this list of no-no’s looks brutally restrictive, but in fact, for any homebody creative cook, it’s really not that hard.  I made it the full 4 weeks eating 3 full meals a day, and barely repeating a single meal once.  It’s hard to train your brain away from the easiest foods to prep, cook, and bring to work (like sandwiches, quesadillas, tacos, scrambles…even healthy options like yogurt smoothies, or a fresh heirloom tomato and mozzarella salad).  But once you learn some go-to substitutes, and once you figure out that it’s not necessarily tortilla chips you’re craving but really just some CRUNCH, it’s totally doable.

The hardest part for me is that this really all has to take place at home.  I live in Portland, where food allergies are mainstream and catered to with pride, so I actually do have a handful of options of places to eat out if I’m really going stir-crazy and want to “get a drink” (i.e. kale-celery-wheatgrass-citrus juice) with a friend.  But for the most part, this cleanse means cooking or at least prepping every meal in your own kitchen, so that you know every ingredient in the sauce you’re making, or so that you can be sure that rice isn’t cooked in butter, or that there isn’t soy lecithin in that gluten-free cracker, or soy in that dairy-free ice cream.  Ugh, there is soy in EVERYTHING).

So yeah, it gets boring to stay at home, especially for someone like me whose social life often revolves around eating and drinking at our favorite establishments around town.  BUT, that doesn’t mean the food has to be boring, and I will tell you that keeping the food interesting is probably the only way you’ll get through a full 4 weeks of this.

Oh yeah, and of COURSE you can do it on less than $6 a day!


Vietnamese Vermicelli Beef Salad

Posted on

This is one of my favorite quickie weeknight meals.  The only tedious part is chopping up all the veggies (which I do in a big batch and keep in separate containers so I have enough to last me for lunches later on in the week), but this takes about as long as it does for the beef to brown, so if you do those two things at the same time, you’re golden.

My favorite veggies to use are the following, but any crunchy, colorful vegetable will do:

  • carrots
  • cucumbers
  • lettuce
  • radishes/daikon
  • fresh herbs: cilantro, mint, Thai basil

Slice up the cucumbers very thin, and shred the carrots and daikon in the Cuisinart to save some time.  Boil some water and pour it over a handful of vermicelli rice noodles in a bowl, let that sit for about 5 minutes, then drain the water and let the noodles cool.

In the meantime, brown 1 pound of ground beef in a skillet, and once the pink is gone but the meat still has some moisture in it, pour in some Le’s Kitchen stir fry sauce, then continue to cook until liquid has evaporated and beef is slightly crispy.

As this is finishing up, make the dressing by whisking the following together in a bowl:

  • 4T brown sugar
  • 3T rice vinegar
  • 4T lime juice
  • 2 pressed garlic cloves
  • 1 inch minced ginger
  • 2 minced chiles (jalapeno, green bird, etc.) or 1T chili paste

To assemble the bowl:

Put a handful of the vermicelli noodles in the bottom of the bowl.  Then, arrange all the veggies in little pods around the circumference.  Put a big spoonful of the beef right in the middle, sprinkle with herbs, fried shallots, and crushed peanuts, and then pour a healthy dose of the dressing over the top.

Thai Beef Salad


Cornbread with Caramelized Apples and Onions

Posted on

From Bon Appetit

cornbread

Winning!  The only adaptation I made was to only use 1 apple instead of 2…that sounded like it was going to be way too much in the skillet, and I think I was right!


Super Simple Ramen

Posted on

http://sixdollarsaday.com/wp-content/uploads/2015/04/glazed-chili-tofu-with-ramen.jpg

I added chopped oyster mushrooms, upped the amount of broth and water because this was way too salty (and not enough broth to make the size batch I wanted).  I cooked 2 bundles of soba noodles separately, and spooned the broth over them in the bowls immediately before serving.

For the tofu, I pan-fried thin slices in our blue steel skillet for a few minutes, then put the whole thing in the oven at 400 degrees until the edges started to brown.  Then I spooned the chili sauce (doubled the quantity) over each slice and let it bake a few minutes longer, added to the bowls at the end.


Nuoc Cham for Vermicelli Noodle Bowls

Posted on

Assemble a bright and colorful bowl with vermicelli rice noodles, a salty, caramelized protein, the brightest, crunchiest vegetables you have on hand, and this sauce poured over top immediately before eating; then top with crushed peanuts.

  1. Combine 4T brown sugar, 3T rice vinegar, 4T lime juice; stir to dissolve
  2. Add 4T fish sauce, 2 garlic cloves, 1 inch minced ginger, 1 medium chile, 1/2c water
  3. Let sit 15 minutes for flavors to meld

Kung Pao Stir Fry Sauce

Posted on

From Bon Appetit’s Kung Pao Brussels Sprouts

  1. Mix cornstarch and 1 Tbsp. water in a small bowl until smooth.
  2. Heat remaining 1 Tbsp. oil in a medium saucepan over medium-high. Add 3 garlic cloves and 2T ginger and cook, stirring often, until garlic is golden brown, about 2 minutes.
  3. Add 2T chili paste and cook, stirring, until darkened, about 2 minutes.
  4. Add 6 dried (crushed) chiles de arbol, 1/2c soy sauce, 3T sugar, 2t rice vinegar, and ½ cup water and bring to a boil
  5. Stir in cornstarch slurry. Simmer, stirring, until sauce coats spoon, about 2 minutes.
  6. Let cool slightly and toss with your stir-fry!

Portuguese Baked Eggs

Posted on

Portuguese Baked Eggs

Served with bacon-kale salad (red onion slices, chopped crispy bacon + drippings & orange champagne vinaigrette) and crusty French bread for scooping up the sauce!  BUT, this needs to bake for about 25 minutes in order or the yolks to set properly.